
Last week I shared with you the tablesetting for the Christmas crafting party I hosted for Jewell and several of her friends.

Today I'll show you the projects we made and give you a quick tutorial.

We made a set of eight notecards and a coordinating pad and pen set.
Today I'll show you how to make the pad and pen set.
You don't need any specialized supplies for this one!
I bought the white mini-legal pads at Walmart. They were 3 for .88 cents.
I looked through my stash and found the pretty scrapbooking paper, but if you don't have it on hand, Hobby Lobby has the best selection - in my opinion. It's around .50 cents a sheet, but I always wait to stock up until it goes 50% off. One sheet will make a bunch of these!
I cut the paper into strips that were 4 7/8" long and 2" wide.

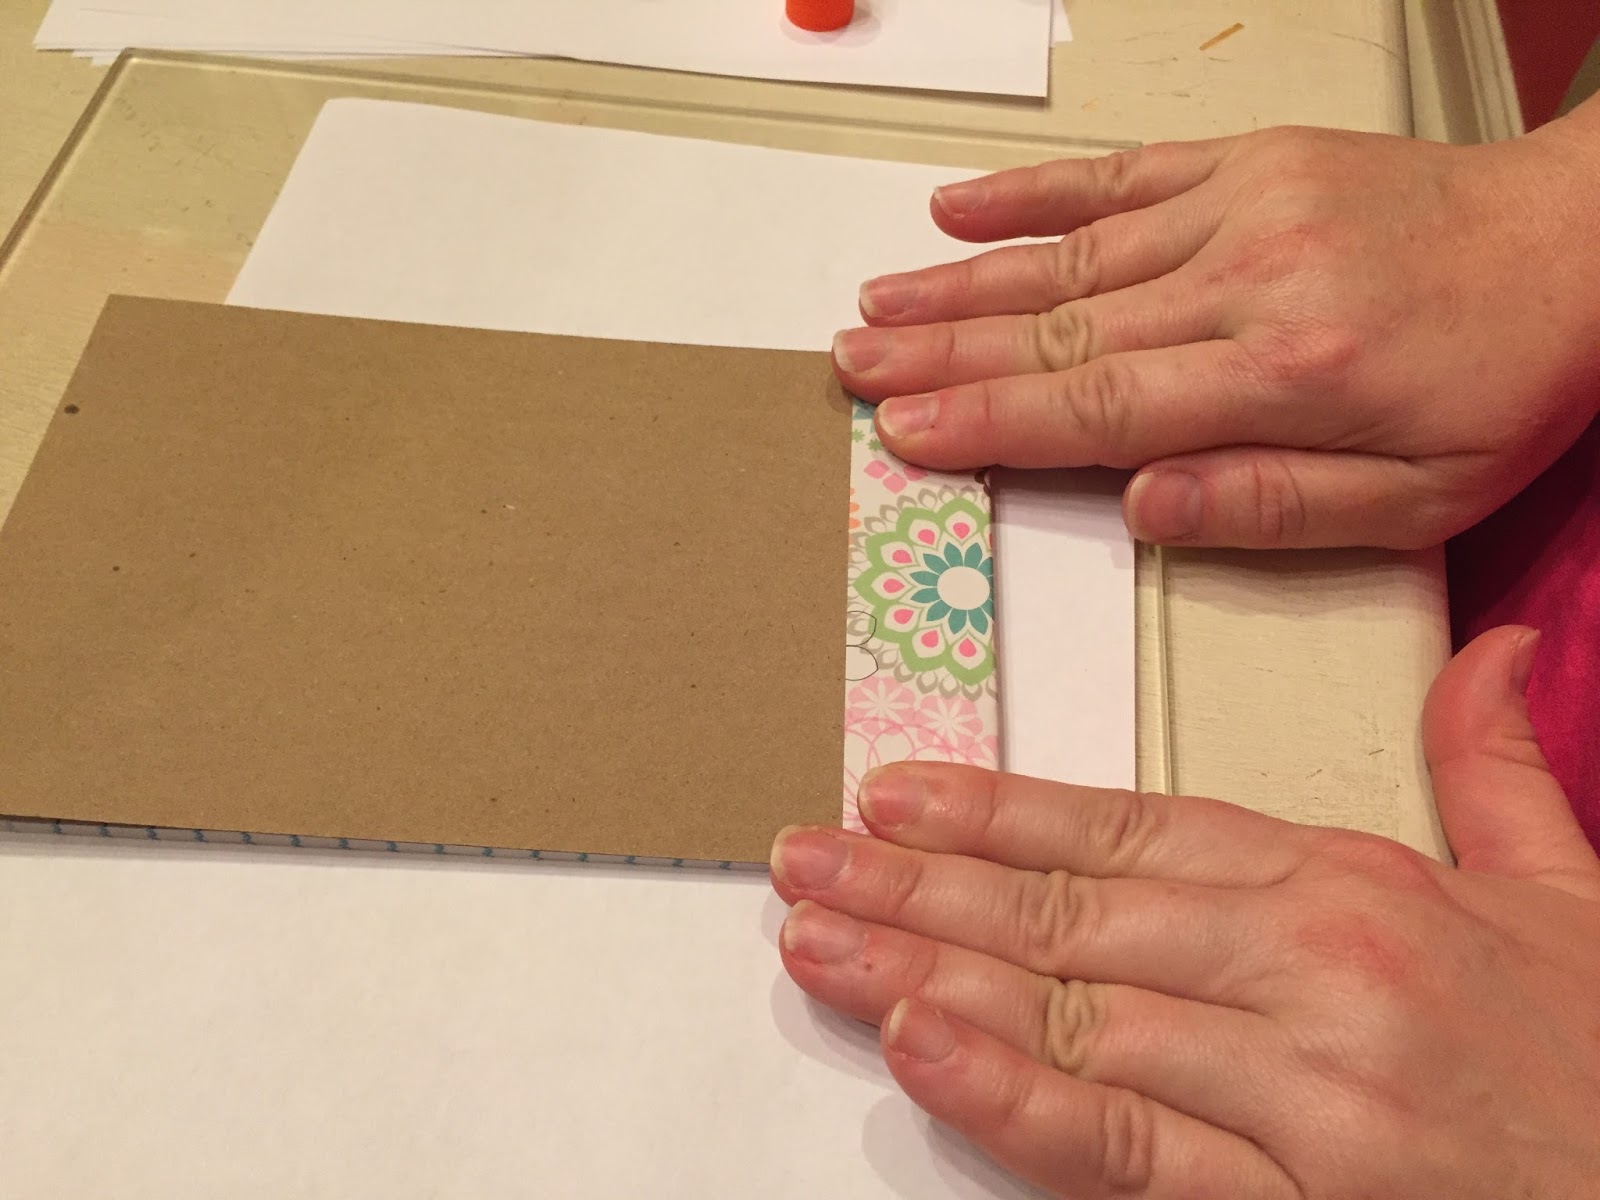
Use a glue stick to apply glue to the back of the decorative paper. Be sure to cover the edges with glue.

Center the paper on the front of the pad, just barely covering the binding at the top.

Use your fingers to smooth it out well and press down firmly to adhere.

Flip the notepad and use your thumbs to smooth it along the top spine of the pad.

Press it down firmly on the back.
I love all things brown craft paper, especially these pretty flowers and butterflies! They came from Michael's. Normally they're $4.99, but they were 50% off, plus I had an extra 15% off coupon. That ended up making them about .10 cents each!

They already have adhesive on the back, so just peel and stick!

The pens were simple too!

A pack of 10 pens was $1.88. I choose the classic black. Using the same paper, I used my paper cutter to cut the strips for the pens. They need to be 4.25" long and 1/2" wide.

Use a pair of pliers to pull out the ink cartridge.

Using your fingers, carefully roll the paper a little.
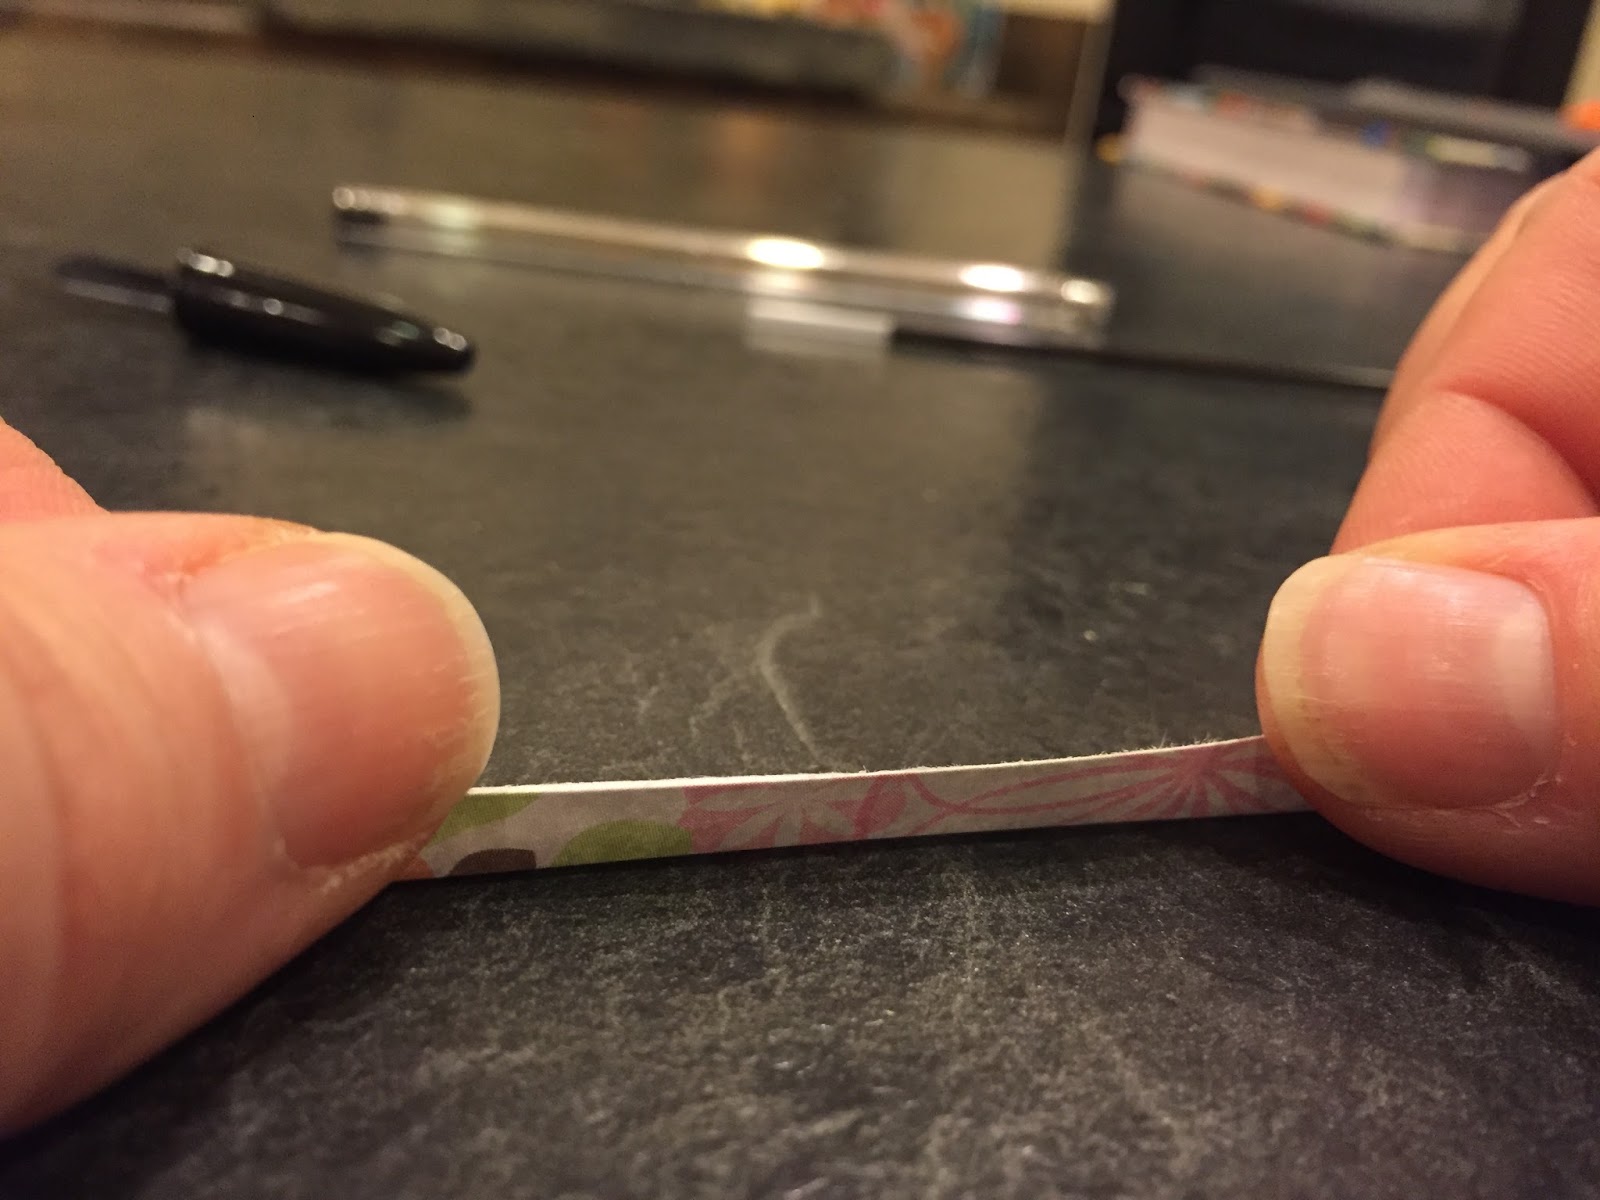
Don't fold it, just begin to shape it a little to where it will hug the pen more easily.

Take the ink cartridge and starting at the end you DON'T write with, wrap the paper around the pen.

Just worry about the first inch or so. Carefully slide it in the pen as far as it will go. Wrap about another inch around the cartridge and push in a little further.

It will take about four steps to get it wrapped and back in the pen.

That's it! Isn't it pretty?

This by itself would make a nice little hostess gift. And for less than $1 a set! I think I'll make up the rest of these and just put them back for last minute hostess gifts.
Tomorrow I'll show you how we made the note cards.
NOTE - I usually take my own pictures, but it's a little hard without a third hand sometimes! Jewell graciously took my pictures for this project. Her's are a little more artisitic than mine. I guess I can learn something from her, too!
I'm so glad you stopped by my neck of the woods!
Please take a moment to sign up to receive new posts by email.
I wouldn't want you to miss one crazy thing...


No comments:
Post a Comment