
I designed this simple, yet feminine note card set for the Christmas crafting party I had for Jewell and her friends the Monday before Christmas. I love the big bold flower, and I thought it would appeal to the girls as well. The stamp set is called "Regarding Dahlias" by Stampin' Up.

The first thing I did was order my envelopes. I chose to use A1 sized envelopes. They're just the right size for a classic notecard. I got them off Amazon and paid $21.95 for 250. That makes them .08 cents each. Once I had my envelopes, I measured and cut my notecards.

The notecards measure 4 7/8" wide by 7" long. When folded, they fit the envelopes perfectly.

I wanted to get two cards per piece of cardstock, so I began by scoring the paper vertically at 3.5".

I really like the Martha Stewart paper trimmer and scoring table. Well - I like the scoring part. The trimmer is not always a clean cutter. But sometimes, I want that "rough" look, so I do choose it sometimes over my Fiskars trimmer.

However, for this project I wanted clean cuts, so I used my Fiskars trimmer.

I made a cut at 7". This leaves a 1.5" scrap.

Then I turned the paper horizontally and cut two cards that are 4 7/8" wide.

This left a scrap as well. I tuck these into a scrap folder, and they are often just what I need for a smaller project.

Next, I stamped my cards. I choose to use eight different ink colors, but I used all one color on each card. In other words, the dahlia and the sentiment on the card below are both stamped in Island Indigo.

I added a little pearl to the middle of the flower for dimension and softness.

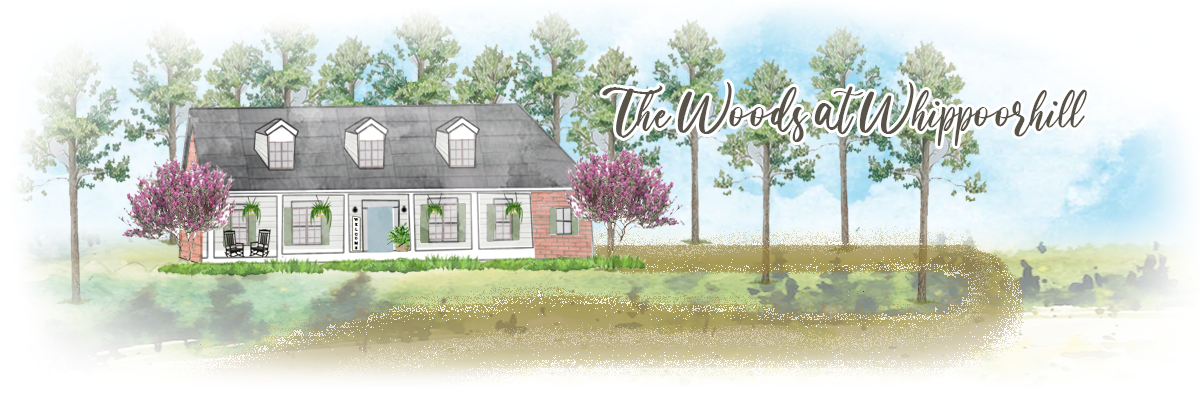
I cut a sponge into wedges and stapled the ink color onto it.
I lightly dabbed this sponge on the ink pad.

Then I carefully brushed it along the edge, just to add a little detail and define the edges. I repeated the process seven more times with seven more colors. That's it for the cards!
For the stationary folder, I cut a piece of white cardstock 6.25" x 9.5".

(Disregard the notched edges above. I forgot to take a picture before I cut them out.)

Take the 6.25" x 9.5" rectangle and score it at 1/2" along each long side. Then score it from the bottom at 3", 3.5", 7.25" and 7.75".

Use a sharp pair of scissors to trim out the top and also to snip in the middle folds.

Fold on all score lines toward the middle. Set aside.

For the cover of the stationary folder, stamp four images of your color choice.

Cut them into squares for easier access.

I found these dies on Pinterest. They are not made by Stampin' Up, but the owner of diesbydave@gmail.com has made dies for a number of Stampin' Up stamps that are "die-less"!

He included a key to cutting, which was great because the flowers are very busy and hard to match up.

I cut two blue flowers - one large and one medium.

Run them through the Big Shot. I love the magnetic platform. It keeps them from sliding and getting messed up. I also cut a large and medium out of the other two colors.

Use adhesive to apply the large blue flower first.

Apply to the front of the folder. Flatten it for easy access.

Next, add the other large flower, whatever color you choose to make it. Apply the medium flower in the third color. (Forgot to photograph this.)

Use dimensional adhesive squares to raise the medium blue flower and give it depth.

I should have used smaller ones, but oh well!)

See how it made it 2-D?

Use the adhesive backed pearls.

Put them in the middle of the flowers.

Flip over and fold up gently. Mark where brads should go.

I was able to use my tiny hole punch on the flap.

The bottom hole was too deep for the hole punch so I used an awl.
At this point - I forgot to take pictures again! Before folding it up and using adhesive, stamp the back with a personalized stamp if you'd like.

Lay it out flat with flowers facing you. Use adhesive on the bottom flap only.

Flip back over and fold in the snipped piece on both sides.

Fold up the bottom piece.

Fold over the flap on the middle piece and press to adhere.

Use your nail to smooth it out.

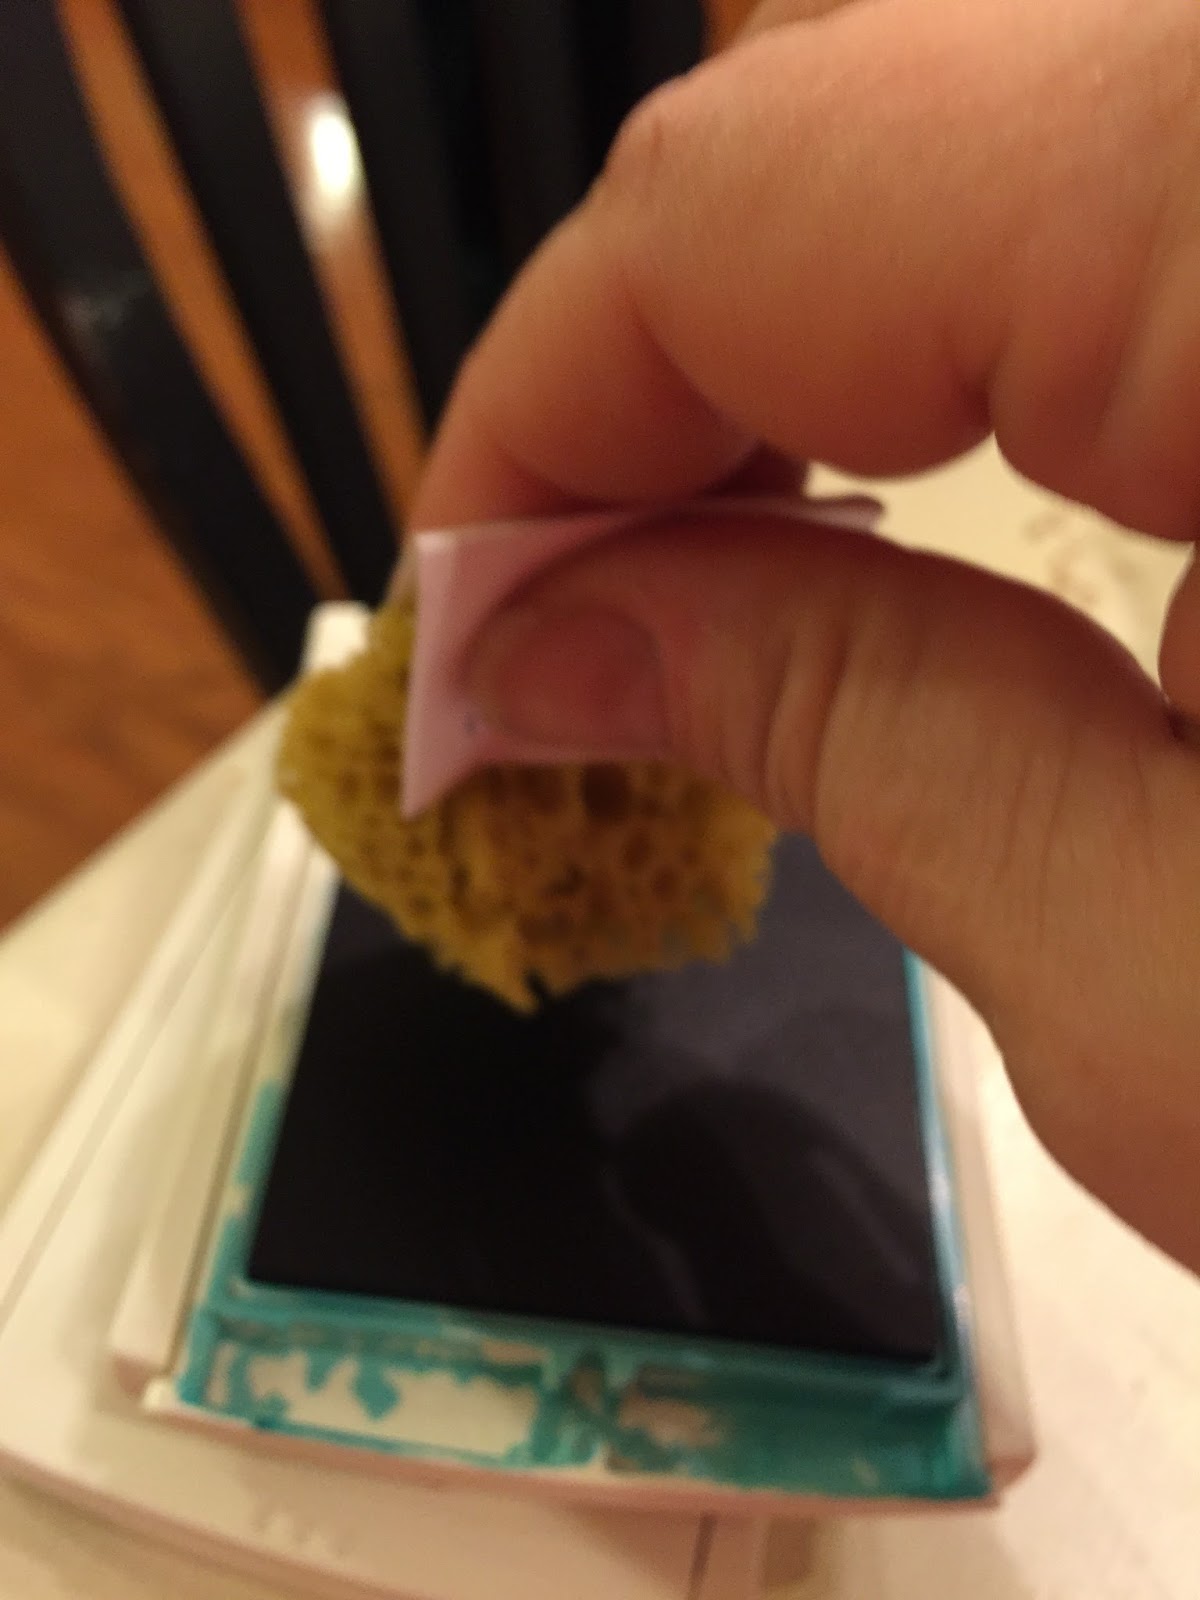
I used a 5/8" circle punch and craft paper to make the little brown circles. Then I used my tiny hole punch to make a hole in the middle.
I found these pretty little pearl heart-shaped brads on sale for about $1 at Michaels. A pack has about 40 in it.

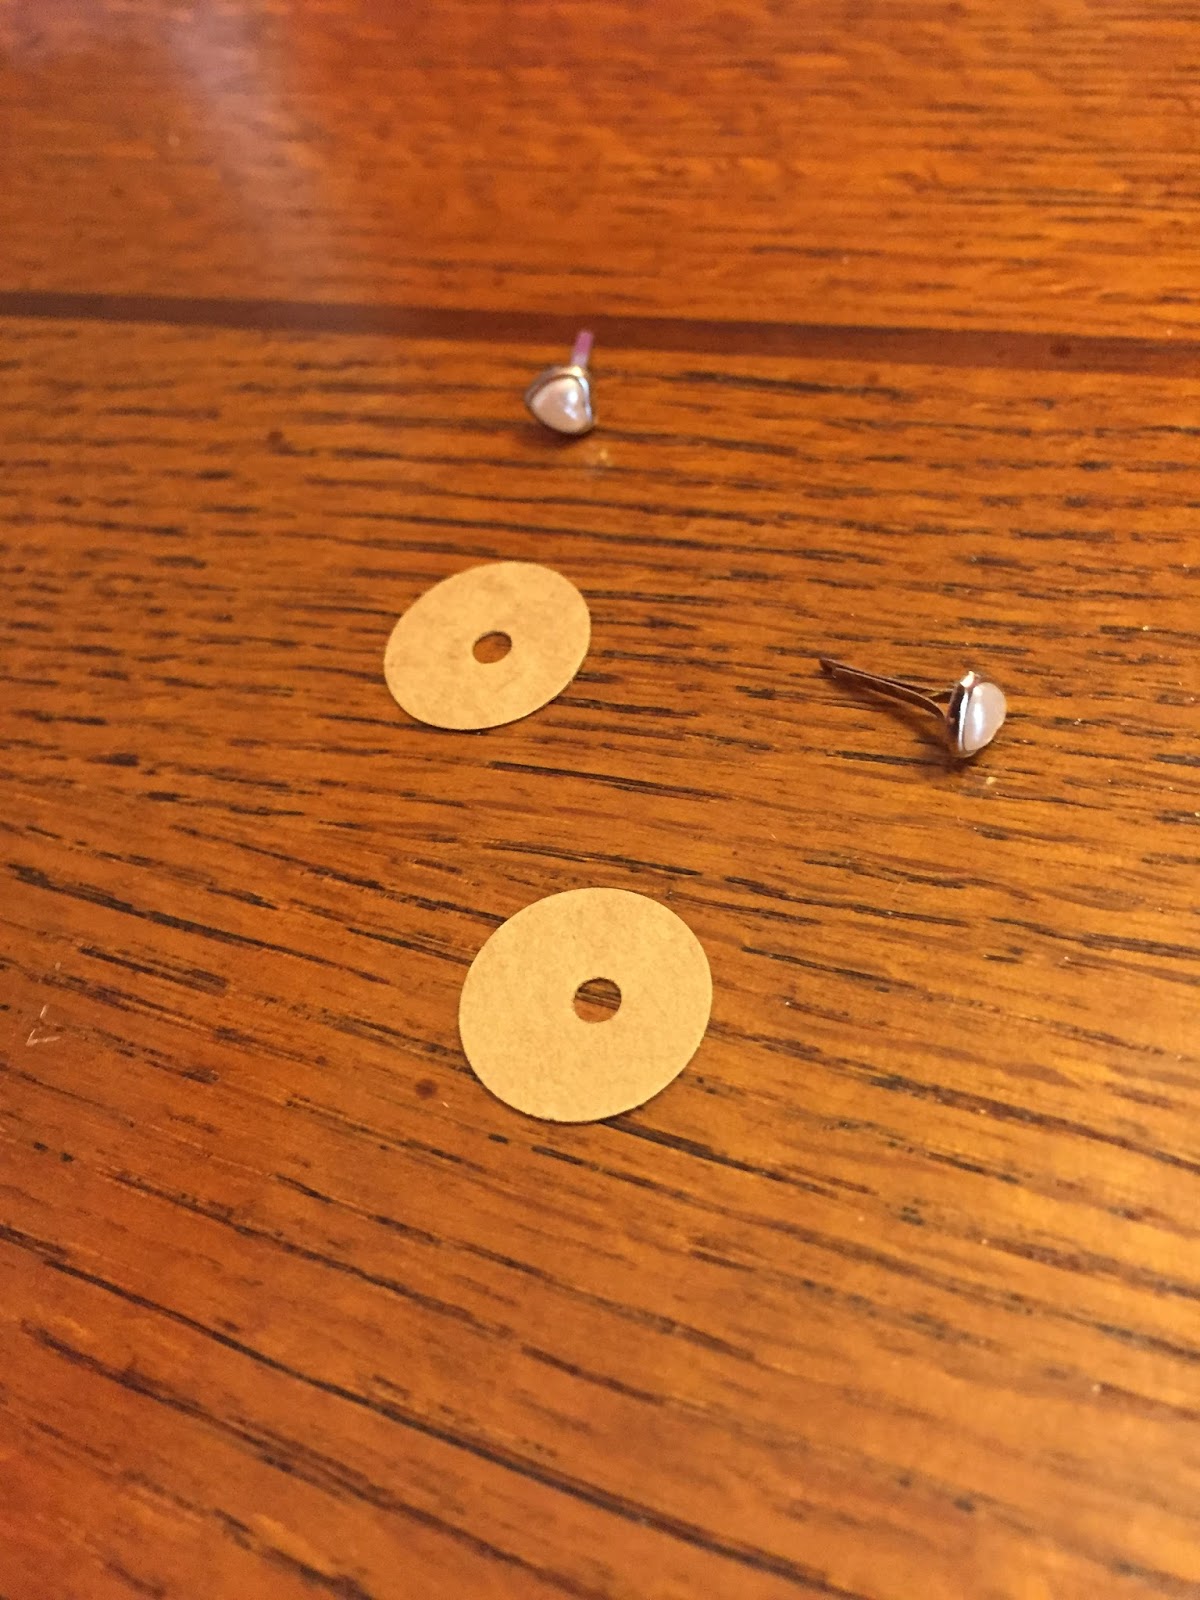
Put the circle over the hole and insert the brad.

Don't lay the brad flush against the surface. You need some room to wrap the cord around it.

Repeat.

At this point on my first example (which I forgot to take pictures of, thus the re-shoot today), I used a corner rounder on the flap and then added a little color to the flap with the sponge.

I found this pretty baker's twine at Dollar Tree - three rolls for $1. Cut about 8" and tie both ends in a knot to prevent fraying. Loop the end into a lasso and tie around the bottom brad.

Then just figure eight it around both brads to close.
That's it!

Isn't this pretty? I already had the inks and stamps, but if you add up all the other supplies I had to buy, the stationary probably cost less than $1 a set.

Add to that the pen and pad set and I have about $2 worth of supplies for each girl.
Several of the girls used one of their notecards to write me a thank you for hosting the party! How sweet! I've already used all eight of mine on notes for the holidays. I need to get busy and make some more!
I'm so glad you stopped by my neck of the woods!
Please take a moment to sign up to receive new posts by email.
I wouldn't want you to miss one crazy thing...


No comments:
Post a Comment