

Today I'm walking you through the process of how I made my craft closet. I was needing a space where I could craft and then close it off. No "rooms" were available, so I took the closet that was stuffed full of my supplies and spiffed it up a little!
I began by making a list of the items that would go in my closet, and then I started looking on Pinterest for ideas.

Here's the before...

It held everything, but it wasn't easy getting it out or back in!

I began by taking everything out. This gave me a chance to inventory what I had. Now I keep a list of the stamp sets, ink pads, etc. on my phone so I don't end up buying the same thing twice!

I removed the shelves and brackets. These went into storage in the attic. Who knows. Maybe I'll get the kids' playroom one day to use as a craft room! Then this could be turned back into a closet.

I patched holes and repainted the closet. Believe it or not, we still have paint left over from the build, and it was unopened!
Here's the part you can't see. I spent several hours one Sunday afternoon at Home Depot getting all the wood cut to order. I had drawn up the plans myself. I checked and double checked everything, then had the guy cut them. I think they'll make one or two cuts free per piece of wood. Be sure to catch them when no one else is there...

I used pine, so I primed it then painted it with more leftover paint - "Navajo White" by Sherwin Williams. This is what all the trim work in my house is painted.

I took the time to find where all the studs were, then I used deck screws to secure the pieces to the wall. I tried to be sure to secure through studs whenever possible, in fact, I only went into the studs. It was just a matter of how many times a piece of wood intersected studs. The more, the better.
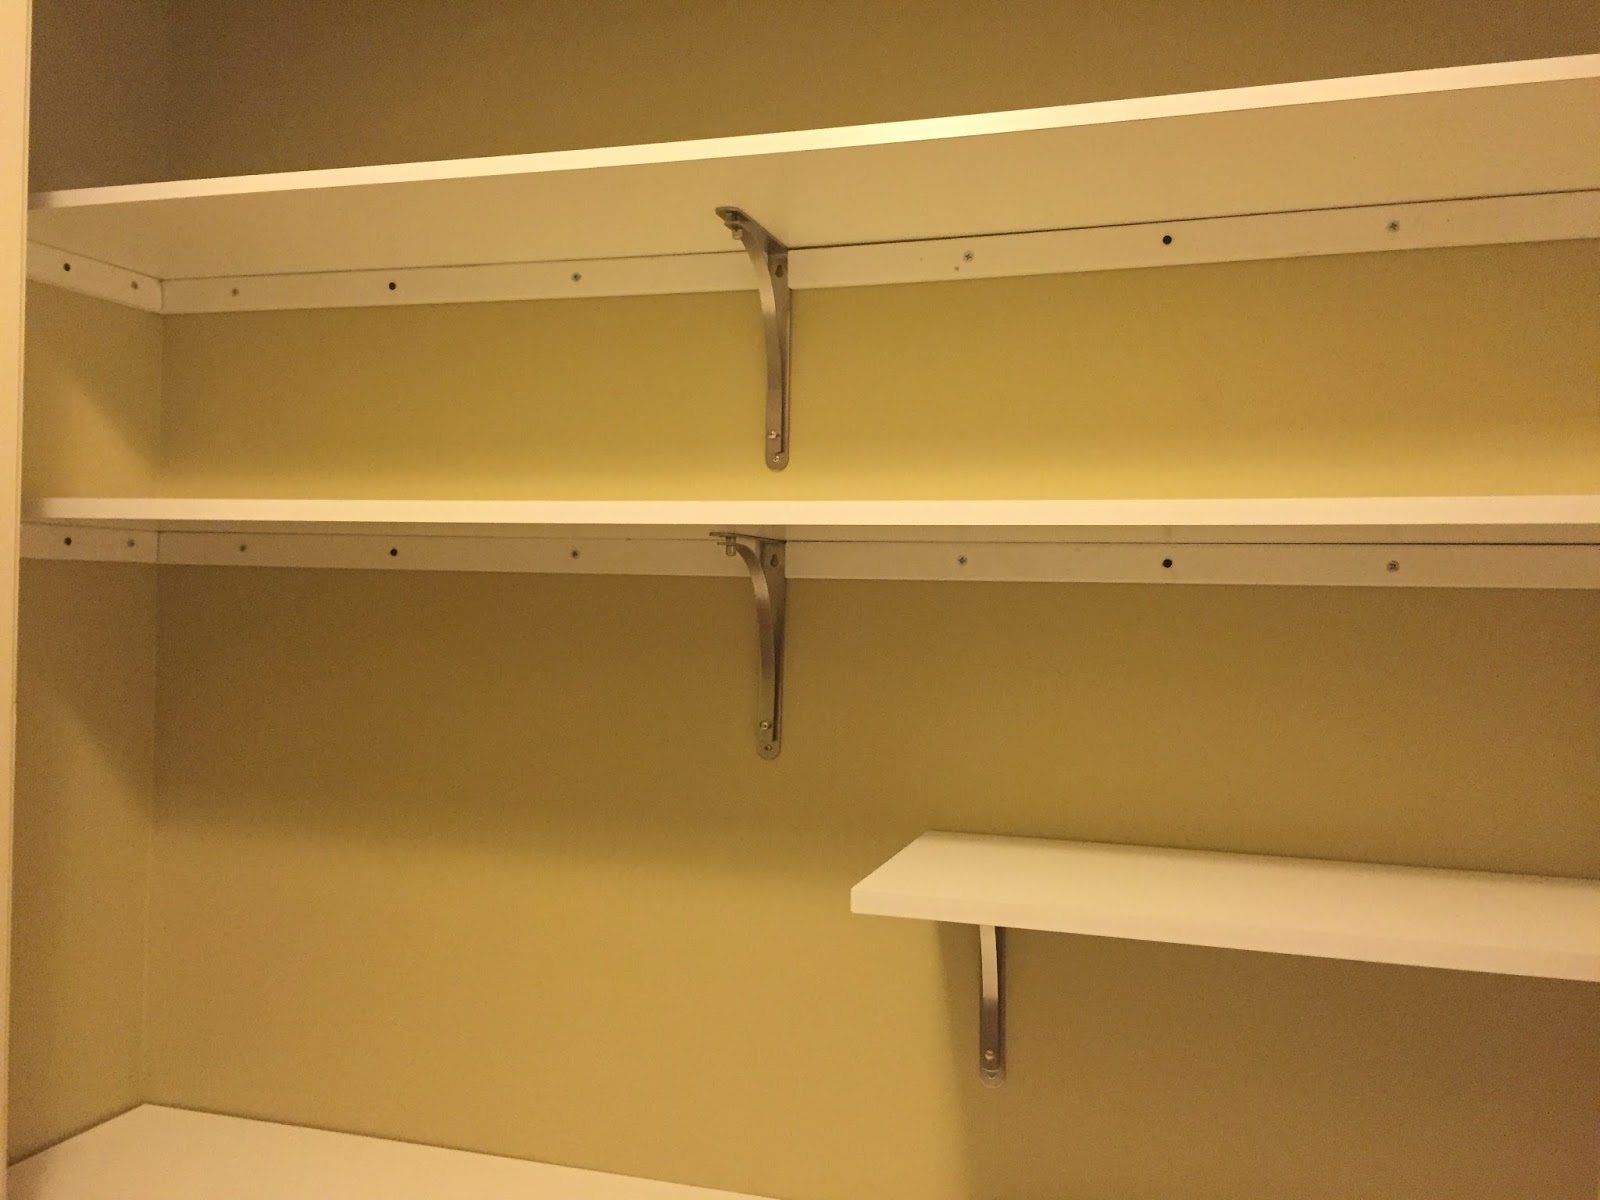
This is a brace to hold a shelf. All the shelves were braced by wood and brackets to make them stronger.

My holes were not pre-drilled. It was all up to me. I made sure to keep the extra drill battery charging at all times.

I keep thinking my parents will give me my own drill for Christmas since I keep borrowing theirs!

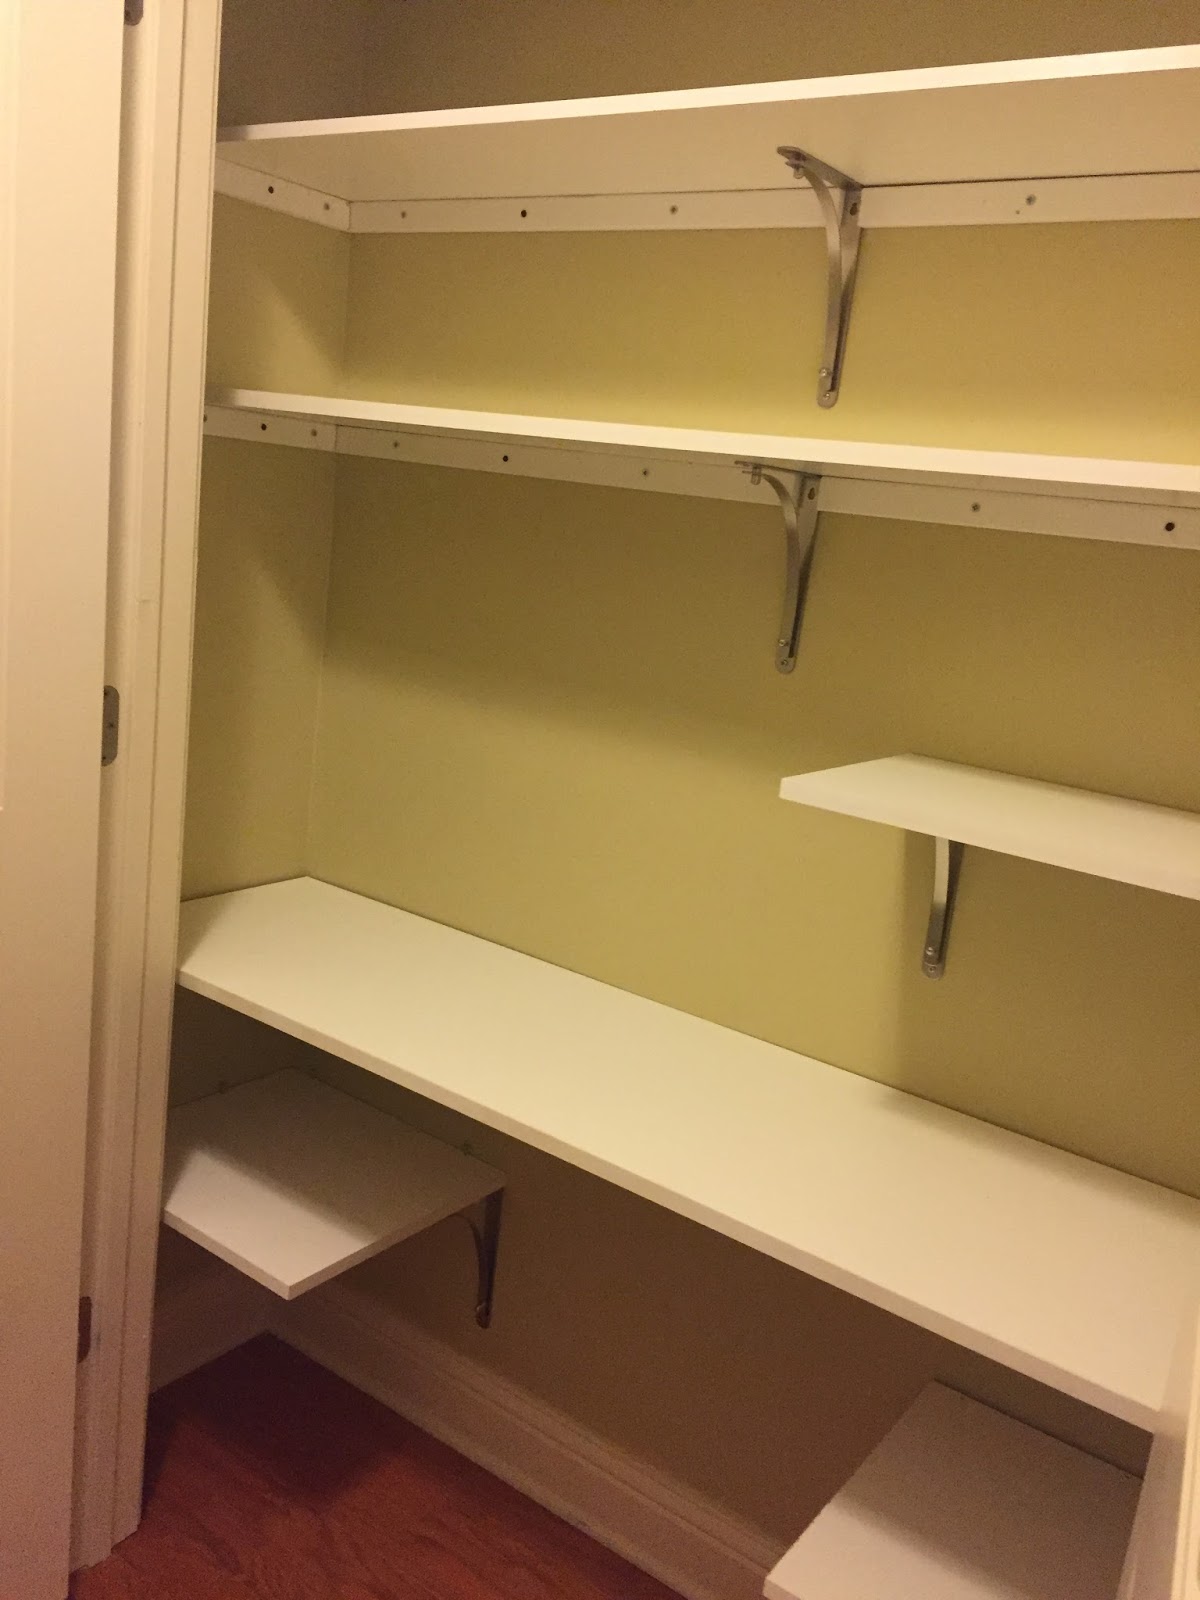
Here are the top wood braces and a bracket to support the top shelf. I really wish I had done two braces, but that shelf just holds the shoeboxes, so it's been fine so far.

For shelving, I used melamine. More on that later. Brackets also went directly into studs.

I really did the whole things myself - design, purchase, oversaw the cutting, painting and installation. Jewell took photos for me as I went, and she did hold the wood braces level so I could screw them in. Girl power!

Top two shelves installed.

As I said, I used the melamine shelving. It is lighter than solid wood, and it has a surface that is smooth (for writing) and wipes clean. It was cheaper, too! I used this melamine edging tape to finish off the edges.

Measure for length and cut about 1/16" longer.

Line it up on the shelving. (The edges are a little rough from cutting. These sides face up near the top and down near the bottom, so no one is any the wiser!

Using a hot iron and no steam, cover the melamine strip and apply heat and pressure.

Doesn't that look great!?

About halfway there!
In my design, I made sure to leave space for my ink corral (an old cassette tape organizer) on the left side. I already knew where everything was going.

I stole this cool acrylic chair from Brack's room, but he was having none of it. Oh well...
I intended to go back and paint over my screw holes, but I haven't yet. Once everything was loaded in, they weren't as noticeable.

A handy half shelf.

It's hard to see, but the shelves are not as deep as the desk. The desk fit perfectly into the space. I wanted the shelves a little more narrow so I could reach things while seated and working.
Design took me a week to work on. I wanted to be sure it was the best use of space and that it was right dimensionally before I bought materials and had them cut. Purchasing and cutting took most of a Sunday afternoon. Painting took a day - not a whole day, but I would prime, go do something else and come back. Paint a coat, leave and do something else. You get the idea.
Installation took the better part of a Saturday. So all in all - it was a three day job!

I have soooo enjoyed having a home for all my crafting. It's wonderful to know where everything is and be able to put your hands on it immediately!

Full disclosure...It doesn't look like this right now! I'm working on invitations for Brack's birthday party, but it doesn't matter. I just close the doors!
I'm so glad you stopped by my neck of the woods!
Please take a moment to sign up to receive new posts by email.
I wouldn't want you to miss one crazy thing...


No comments:
Post a Comment