Check out my Stampin' Up posts!
Showing posts with label Stampin' Up. Show all posts

Tuesday, July 5, 2016

Thai Cucumber Salad


Last week I shared my recipe for Satay Chicken Noodle Salad. Today I'm giving you the recipe for my Asian-inspired side dish, Thai Cumber Salad. They serve this as a condiment with Thai toast and chicken patties at my favorite restaurant, Lek's Taste of Thailand. I always ask for extra! It's so light and fresh, and I love the crunch of the cucumbers.


Begin by preparing your cucumbers. I doubled this recipe. I took four seedless English cucumbers and washed them well with soap and water. Cucumbers are usually treated with a wax to keep them fresh longer. Be sure to get this off before eating...


I cut off the ends and then cut them lengthwise.


Even though they're technically "seedless", they have a pulp and tiny seeds in the middle which hold a lot of water. I used a small teaspoon to scoop out the middle.


Next, I cut the halves in half. Then I sliced them into half-inch quarters.


I placed the cucumbers in a colandar and sprinkled them with one teaspoon of salt. Stir well. I let them sit and drain for about 30 minutes. Nearly a cup of water came off them. Rinse really well and pat dry.


Meanwhile, I pulled out a mason jar (my favorite way to make a dressing) and mixed 1/3 cup of rice wine vinegar, two tablespoons brown sugar, 1 tablespoon soy sauce and a pinch of red pepper flakes. Shake well to blend and set aside.


I dressed the salad before I left for my club meeting in Montgomery, and then just before serving, I added a palm full of toasted sesame seeds. (And of course, I got busy laying everything out for the meal and forgot to take a picture of the final dish!)

This was slightly sweet, cool and crunchy next to my Satay Chicken Noodle Salad. The perfect complement! Tomorrow I'm sharing dessert. You don't want to miss this!

I'm so glad you stopped by my neck of the woods!

Please take a moment to sign up to receive new posts by email.
I wouldn't want you to miss one crazy thing...

Wednesday, June 29, 2016

Satay Chicken Noodle Salad


Back in May, it was my turn again to host my Stampin' Up hostess club. It was already getting hot, so I was looking for something that would be filling but not too hot or heavy.  This Satay Chicken Noodle Salad was just the thing!

Before I share the recipe, I have to go back to March for a minute. A group of my homeschool mom friends got together and went to Mr. Chen's in Montgomery for dinner. My friend, Wei, is Chinese, and she was our "tour guide" for the night. We ordered about six different dishes and shared, family style. After dinner, we walked around the other side of the restaurant, which is an Asian market. It is my new favorite place! It's right next to Faulkner and church, and I have already made a stop there a couple of times when I had a little time to kill. Fascinating! That's where I got my Asian ingredients for this dish. 

I quadrupled my recipe since I was making it for a group. I am giving you the single recipe below. It would serve a family of four.

Satay Chicken Noodle Salad

1/4 c crunchy peanut butter (what I had - you can use smooth)
1 clove finely minced garlic
1 tbsp sesame oil
2 tbsp sweet soy sauce
2 tsp brown sugar
sriracha to taste (I used about a teaspoon)
juice and zest of one lime
6 tbsp coconut milk
2 tbsp water
salt and pepper to taste

(If you can't find sweet soy sauce, use regular, then double the brown sugar.)


This stuff is WONDERFUL! It's thick and sweet. Kinda like a hoisin sauce. Brack loves this on plain noodles.


Coconut milk is used a lot in Asian cooking. I keep some on hand. It lasts forever!


I mixed it all in a bowl...


then put it in a mason jar and stuck it in the fridge. Shake often to mix. Allow at least a couple of hours in the fridge for flavors to marry.


Mr. Chen's has a whole aisle (both sides) of various noodles. I'm not kidding when I say there are probably over one hundred types of noodles. I love these rice noodles, but if you can't find them, you could use angel hair pasta cooked according to directions.


While I was making my dressing, I brought a big pot of water to a boil. I added the noodles and removed it from the heat where they sat for an hour to soften. Do not boil these. They will fall apart.

Satay Chicken Marinade

2 tbsp sweet soy sauce
1 tbsp canola oil
1.5 tsp curry powder
salt and pepper to taste
4 chicken tenders (or two breasts)
  

I've never been a big fan of curry, so I adjusted the amount by half. It's more than enough, and I actually really liked it in this dish. Plus - my kitchen smelled AMAZING!


Mix your marinade in a bowl.


Cut chicken into thin strips on the diagonal.

TIP - It is easier to thinly slice meat when it is still partially frozen. I cut it up when it was halfway thawed then let it continue to thaw.


Add to marinade and let sit while you prepare the salad.


Thinly slice 1/4 a purple cabbage. Slice four green onions on the bias. I used matchstick carrots to make things easier. Use 1/2 a small bag for a regular recipe.


Add one tablespoon of canola to a non-stick pan and heat. Stir fry the chicken in two batches to keep from over-crowding. Add chicken to hot oil and leave it for a couple of minutes to get good color on one side before turning. Chicken will cook fairly quickly - probably less than two minutes per side if sliced thinly enough.


Drain noodles. Since I was not serving the salad immediately (I had to drive to Montgomery), I tossed the noodles with one teaspoon canola oil to keep them from sticking. 


I used a huge stainless bowl that belonged to my grandmother to assemble and serve the salad since I made so much. I layered the noodles, then tossed the cabbage, carrots and green onions before layering them. I topped it with the hot chicken and covered it with plastic wrap.


By the time I got to Montgomery, the hot chicken had wilted the vegetables ever so slightly. I tossed the salad with the dressing and it was ready! I served it at room temp that night but ate leftoevers the next day straight out of the fridge. Delicious both ways! 

This salad is one of my favorite things EVER. I really thought I was going to have to pull off the road on the way to my meeting that night. It smelled that good! You must try this recipe! My kids begged for a taste of the chicken before we left, so that alone tells you something. I plan to make this again soon. I think I'll marinate whole chicken tenders on skewers and then grill them for the kids. Maybe a side of fried rice? Yum!

I'm so glad you stopped by my neck of the woods!

Please take a moment to sign up to receive new posts by email.
I wouldn't want you to miss one crazy thing...

Tuesday, May 31, 2016

Brack's Nerf Party...The Invitation


Brack recently turned 11. Unbelievable. I get excited about planning parties, but Brack REALLY gets excited. He starts talking about his next birthday party within days of his his last one! In fact, we have instituted a rule that says Brack can't start talking about his birthday until after Christmas. A lot of good that does!

So when I finally told Brack we could talk birthdays, he knew exactly what he wanted to do this year...a Nerf war party. I can do that!

Today, I'm sharing the invitation.


I began by cutting my base cards and top layer in white cardstock. 


I cut a middle layer for the card top in orange.


I ran it through my Big Shot using this embossing folder that looks a little like targets or a little like dings in a target.


Cute, huh? I like the texture.


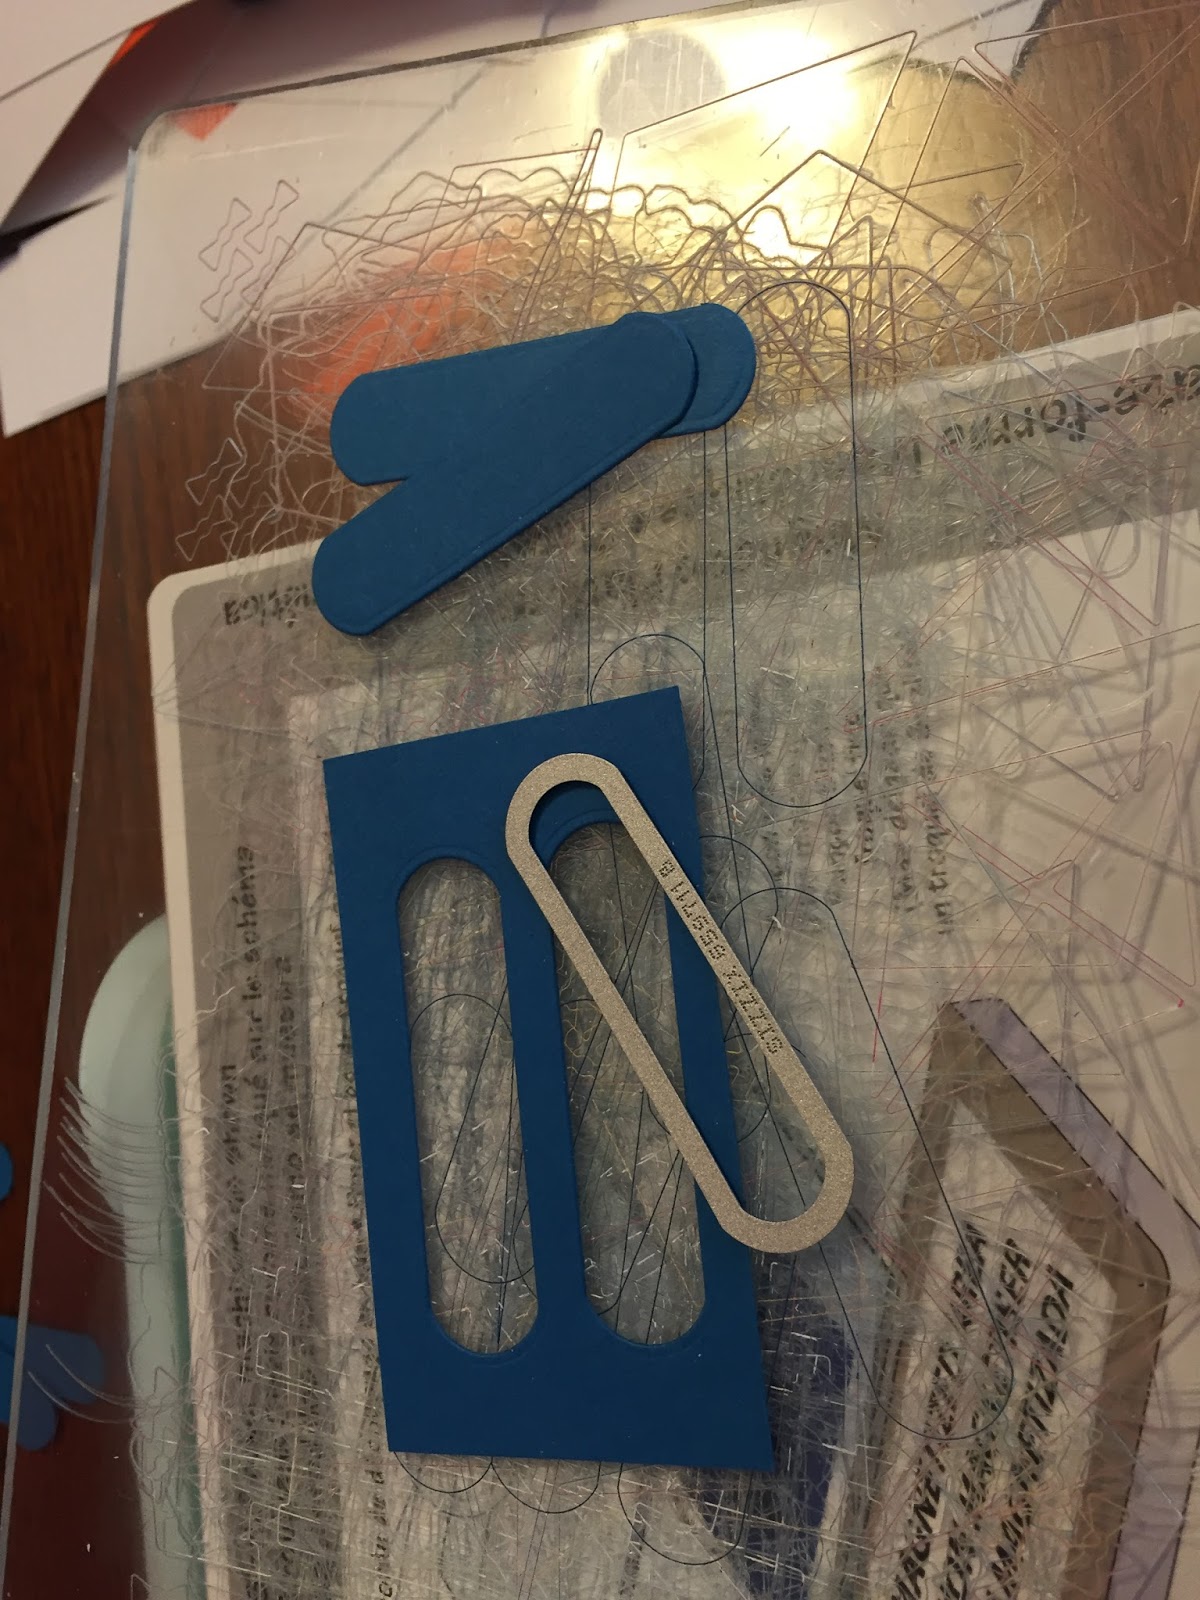
Then I used some framelits to cut these rectangular cylinders in blue. 


I used this little 5/8" circle punch to cut the tips out of orange.


I gathered all my components. I like to work assembly style.


I began by folding my card base. It doesn't show up in the picture, but I had already scored them for easy folding.


I stamped the back with my personalized stamp.


I attached the textured orange layer with adhesive.


I found this bullet target on eBay. I think it was all of $1.99. I randomly stamped it on the top layer card with black ink. I like to go off the edge sometimes so it doesn't look too perfect.


I used adhesive to attach my top layer.


Next I clipped about 1/3 off of the circles.


I used adhesive to attach them to the bullet body.


I hand wrote "ready", "aim", and "fire" on them.


TIP - I printed the inside of the cards. A long time ago, I did all the math on the dimensions for these inserts. I have a master that I saved on my computer, and I open it and "save as" for each new project. All I have to do is change the wording with each new invitation.


Cut to size.


I cleaned my stamp and used yellow on the inserts to stamp a few more targets.


I love all my Stampin' Up products. I'm usually a generic or store brand buyer, although with some things (like mayo and catsup) I insist on buying name brands. Stamp pads are another. When I started with Stampin' Up, I thought I'd just get ideas and use my own stuff. Wrong. These are quality products and they are dye lot matched to their paper stock. Everything looks so professional when I use these products. Love, love, love Stampin' Up!


So there you have it! Brack's birthday party invite. Tomorrow is the tablescape. It's one of my favorites that I've ever done! You definitely want to see this.

I'm so glad you stopped by my neck of the woods!

Please take a moment to sign up to receive new posts by email.
I wouldn't want you to miss one crazy thing...

Tuesday, April 19, 2016

Miss Manners' Kite Party...The Invitation

Back in January I started planning a Spring party for our Miss Manners girls. Between my schedule and Nancy's, we were finally able to find a date that worked for both of us. With the party falling in the middle of April, I had plenty of time to plan. I decided on a "kite" theme.

Gerald loves to fly kites. Before we had kids, he'd fly a kite. Even now, when the kids don't want to, he'll go out on a breezy day and put one in the air. It doesn't take long for the kids to wander outside to help!


I wanted a very light and airy color scheme, so I went with this pale sky blue for the card.


I began by cutting an 8.5" x 11" piece of white card stock in half across the middle for the card base.


Next I cut the blue piece for the front. I usually like them smaller that the base card, so I cut it to measure 4" x 5.25".


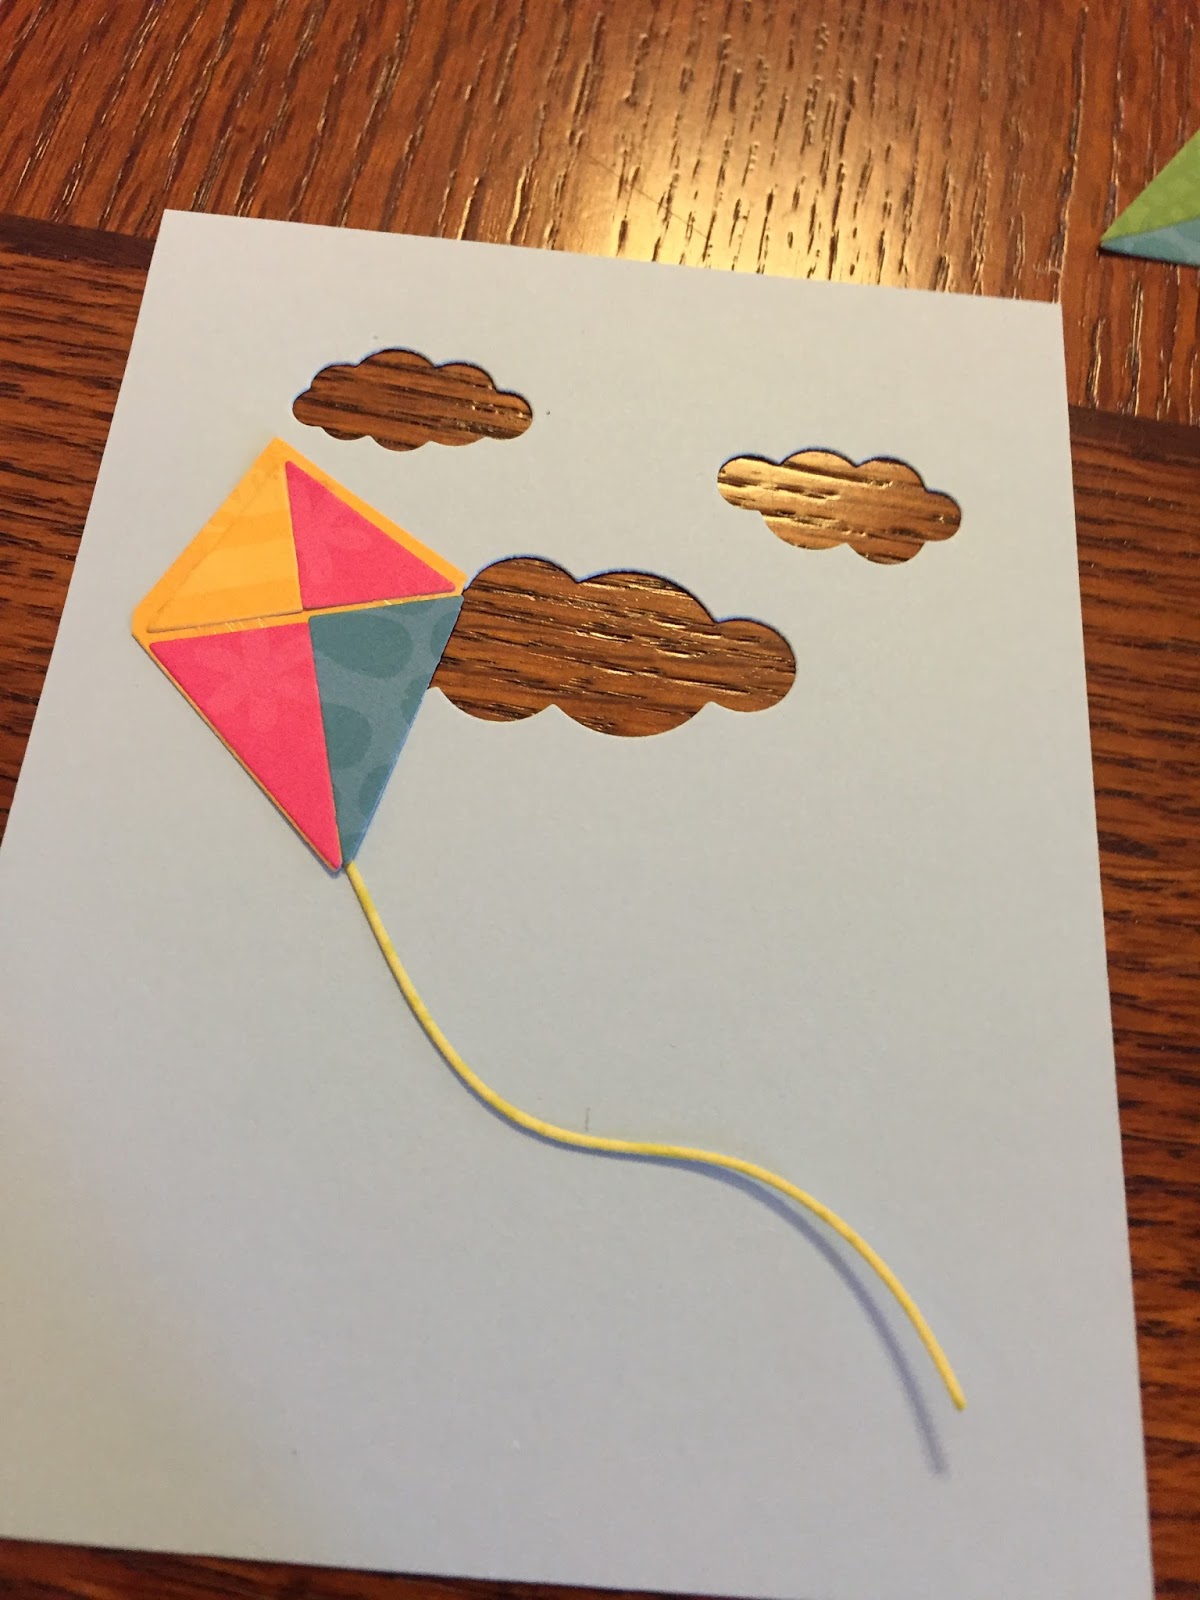
Next, I cut out my clouds. I used "Cute Clouds" by Paper Smoochies. Here's the link to Amazon where you can get them.


I arranged them on the blue piece so it looked like they were floating.


I set aside the cloud cuts. I actually attached them to the cards and envelopes for a little more color.


I had this stamp made on Etsy and I use it to let people know that I hand made each invitation. I go ahead and stamp them before folding. It's easier that way.


I used "Kite Set with Bows" by Impression Obsession to cut out my kites. I found the best price for this set on eBay. Here it is. I used several different colors so I could mix and match my kites.

I took a few minutes to lay them out and mix colors before assembling.


I assembled the kite then attached the string before adhering the kite to the blue piece of card stock.


The bows were tedious! I finally figured out I needed to slide them across a glue stick.


The bows hold down the string nicely.


I like to work on one component at a time. Just works for me and seems to be faster than completing one complete card at a time.


Next I used black ink and a stamp that came in one of my Stampin' Up kits.


I applied it to the front of the blue piece.


The black really looked neat.


I used dimensional stickers to attach the blue card to the white card base.


This made it look like it was floating.


I took a cue from Mary Poppins for my invitation. I printed these on my computer and cut them to size. I then adhered some of the clouds to the inside.


I made a little more than two dozen of these since I was inviting Little Miss Manners girls and the older girls from Miss Manners.

I usually hand deliver the invites to our big Halloween party to save money, but for Miss Manners and birthday invitations, I always mail them. Children love getting mail!

Now that you've received your "invitation" to the party, I hope you'll be back tomorrow to see the tablescapes!

I'm so glad you stopped by my neck of the woods!

Please take a moment to sign up to receive new posts by email.
I wouldn't want you to miss one crazy thing...
SITE DESIGNED BY PRETTYWILDTHINGS